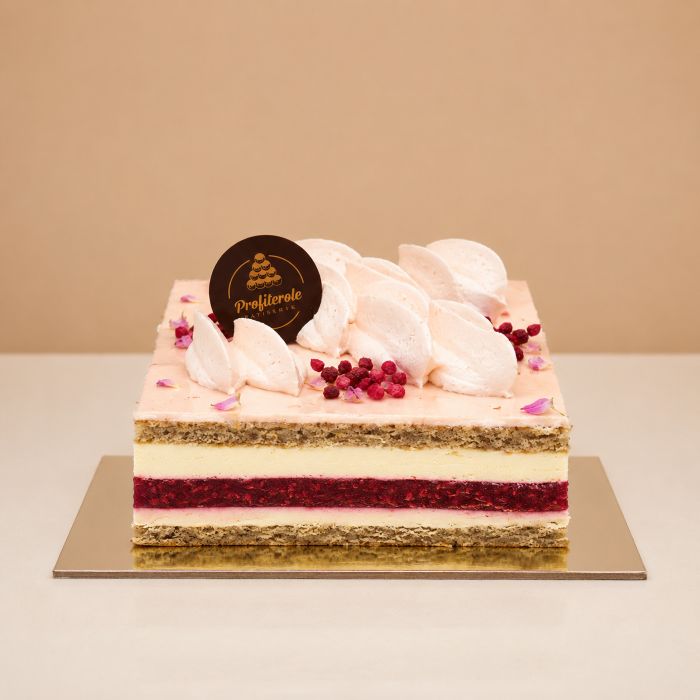

How to Set Up a Dessert Table for Guests: Step-by-Step Guide From A Café Owner
A beautifully styled dessert table acts as the visual and social anchor of any gathering. It invites guests to gather, admire, and connect before savoring their first bite.
Too often, home celebration tables fall victim to mismatched platters and cluttered layouts that cause room bottlenecks and dry out delicate pastries.
Bringing patisserie-level presentation into your home requires blending visual design with effortless hospitality ergonomics.
To prevent this from happening, allow me to share with you the seven (7) basic steps that you can follow in setting up a dessert table at your home or in any small event.
TL;DR:
Creating an unforgettable dessert station comes down to seven strategic steps: establishing a cohesive three-tone colour palette, directing traffic flow, building vertical dimension using the Rule of Triangles, balancing rich and acidic pastry textures, calculating three to four bite-sized pieces per guest, providing clear dietary signage with tongs, and keeping fresh cream bakes chilled until 20 minutes before serving.
| Planning Phase | Key Focus Area | Baker's Golden Rule |
|---|---|---|
| Theme & Palette | Visual cohesion | Limit styling to 1 neutral base, 1 primary colour, and 1 metallic accent |
| Room Placement | Traffic flow & safety | Allow at least 1 metre of clearance; keep entirely out of direct sunlight |
| Vertical Staging | Height & architecture | Anchor with a tall central cake; step down in balanced triangles |
| Menu Selection | Flavour & texture balance | Combine crisp pastry, airy choux, smooth mousse, and rich chocolate |
| Portion Sizing | Catering calculations | 1 cake slice + 1–2 mini pastries, or 3–4 mini desserts without a main cake |
| Station Equipment | Hospitality logistics | Provide dedicated tongs, small plates, cocktail napkins, and dietary labels |
| Freshness Control | Temperature management | Stage dry items early; hold cream and custard bakes chilled until serving |
Step 1: Establish Your Theme and a 3-Tone Colour Palette
The fastest way to overwhelm a dessert display is by mixing too many competing colours and themes. A dessert table should complement the wider room decor while letting the natural beauty of the pastries take centre stage. Professional event stylists rely on the 3-Tone Rule:
- 1 Foundational Neutral: Use a textured linen runner, natural timber tabletop, or light marble slab to ground the display.
- 1 Primary Event Colour: Select a dominant tone (such as soft sage, dusty rose, or deep navy) that matches your celebration's overarching design.
- 1 Accent Tone: Add a refined metallic (brushed gold, polished silver, or antique brass) or a natural texture (woven cane or stoneware).
Once your foundation is set, harmonize your pastry selections with the palette. The deep golden amber of baked choux pastry, the dark gloss of chocolate ganache, and the jewel-like rubies of fresh fruit tarts provide rich organic colour that enhances your chosen setting.
Step 2: Position the Table to Direct Room Traffic Flow
Table placement dictates how smoothly your guests interact with the dessert station. Placing a table in a cramped corner or directly opposite a narrow doorway creates frustrating human gridlocks.
- Against a Feature Wall: For compact rooms or gatherings under 40 guests, place a rectangular table against a neutral or lightly decorated feature wall. Ensure there is at least 1 to 1.5 metres of open walkway in front of the table so guests can comfortably browse without interrupting room traffic.
- The 360-Degree Island: For spacious venues or cocktail-style receptions, position a round or long dining table centrally. This allows guests to access desserts from both sides simultaneously, cutting wait times in half.
- Logical Service Order: Always stage stacks of small dessert plates and cocktail napkins at the primary approach end of the table. Guests naturally pick up their plate first, move down the line using serving tongs, and grab utensils at the far end once their hands are full.
- Sunlight and Climate Awareness: Never position a dessert station directly beneath an air conditioning vent or next to a sunlit window. Direct solar heat will melt buttercream, wilt fresh fruit glazes, and soften crisp laminated dough within minutes.
Step 3: Master Vertical Staging with the "Rule of Triangles"
A flat dessert table looks crowded and uninspired, forcing guests to awkwardly reach over front platters to grab items in the back. Professional patisseries create visual excitement and functional access by building vertical dimension using the Rule of Triangles.
Imagine a pyramid resting on your table surface:
- The Central Apex: Place your tallest showpiece—typically the main celebration cake resting on a sturdy pedestal stand—in the centre rear of the table.
- Mid-Tier Steps: Flank the main cake with medium-height stands, such as wooden pedestals, footed marble compotes, or two-tiered dessert towers holding delicate pastries.
- Ground-Level Base: Arrange low ceramic platters, rimmed stone trays, and individual dessert cups along the front perimeter.
Using varied elevations guides the guest's eye across the entire spread while ensuring every single tart, choux puff, and cake slice remains fully visible and effortless to pick up without sleeves brushing against frosting.
Step 4: Curate a Balanced Menu Across Textures and Flavours
The most common entertaining mistake is filling a dessert table exclusively with heavy, ultra-sweet items. Offering five variations of chocolate cake leads to instant palate fatigue after two bites. A balanced dessert station engages the senses by pairing complementary textures and contrasting flavour profiles.
- Flavour Variety:
Follow the rule of three flavor families:
- Rich & Decadent: A dense chocolate mud cake bite, salted caramel tartlet, or hazelnut praline cup.
- Bright & Acidic: A crisp lemon curd tart, passionfruit cheesecake bite, or fresh strawberry tartlet to cleanse the palate.
- Light & Creamy: A classic vanilla bean profiterole, airy tiramisu cup, or delicate French macaron.
- Texture Contrast: Ensure your menu contains crisp elements (laminated shortcrust and buttery puff pastry), airy elements (choux pastry shells), and smooth components (whipped Bavarian cream or silky ganache).
- The Finger-Food Rule: Keep 70% to 80% of your dessert table finger-friendly. Individual, bite-sized pastries eliminate the need for guests to balance forks and knives while standing and chatting.
Step 5: Calculate Accurate Portion Formulas Per Guest
Running out of dessert leaves guests disappointed, but over-catering results in expensive waste. To calculate the exact quantity of pastries required, determine whether your dessert table serves as the primary dessert course or as an accompaniment to a sliced celebration cake.
- Formula A: The Dessert Table Accompanies a Main Cake
- Portion: 1 slice of celebration cake + 1 to 2 bite-sized mini pastries per guest.
- Example (30 guests): 1 celebration cake cut into 30 finger portions, supported by 45 to 60 mini pastries (such as mini fruit tarts, macarons, or cream puffs).
- Formula B: The Dessert Table IS the Main Dessert Course
- Portion: 3 to 4 mini dessert portions per guest across 4 to 5 distinct pastry types.
- Example (40 guests): 140 to 160 total bite-sized dessert portions divided across four menu varieties (35 mini tarts, 35 profiteroles, 35 mousse cups, and 35 brownie bites).
Resist the urge to offer ten different pastry options for a small event. Limiting your menu to four or five exceptional, cohesive varieties keeps your presentation elegant and streamlines kitchen preparation.
Step 6: Equip the Station with Essential Tableware and Signage
Hospitality lives in the practical details. Even the most stunning pastries lose their appeal if guests cannot easily pick them up or do not know what ingredients they contain.
- Serving Tools: Never expect guests to use their fingers on communal platters. Provide elegant mini tongs for choux puffs, cake servers for sliced bakes, and small wooden or stainless spoons beside dessert cups. Place small spoon rests on the table so sticky serving flatware does not soil your linens.
- Dietary & Allergen Signage: Modern hospitality requires dietary clarity. Display small, handwritten tent cards in front of each platter listing the pastry name and clear allergen indicators (such as Gluten-Free, Dairy-Free, or Contains Tree Nuts). Clear signage gives guests complete peace of mind and prevents servers from having to answer ingredient questions all afternoon.
- Discreet Clean-Up: Place a small, stylish waste receptacle just out of direct sight near the exit side of the table so guests can discard napkins and cocktail picks without cluttering your presentation.
Step 7: Manage Timing, Temperature, and Pastry Freshness
The final hurdle of dessert styling is timing. Pastries are delicate culinary creations containing real butter, eggs, and dairy cream that degrade quickly if left exposed to ambient room temperatures for hours before guests arrive.
- The Staging Schedule: Set up your table, linens, pedestals, serving tongs, and signage several hours ahead of time—or even the evening before. Arrange room-temperature items (such as iced cookies, dry biscuits, and brownies) onto platters one hour prior to the event.
- The Cold-Chain Window: Fresh dairy cream profiteroles, mousse cakes, custard-filled tarts, and delicate cheesecakes must remain refrigerated until 20 to 30 minutes before dessert service begins. This allows the pastries to come up to optimal tasting temperature—unlocking the full aromatic profile of the butter and chocolate—without risking food safety or structural melting.
- Outdoor Adaptations: If entertaining outdoors or under a garden marquee, keep fresh cream bakes indoors in the refrigerator. Display heat-stable baked tarts, macarons, and glazed mud cakes outdoors, and protect fruit glazes from outdoor elements using elegant glass cloches.
Handcrafted Celebration Desserts at Profiterole Patisserie
Creating an extraordinary dessert table comes down to combining architectural styling with exquisite bakes.
And by balancing heights, coordinating colours, and offering a thoughtful variety of textures, you can transform an ordinary party spread into an interactive culinary experience your guests will remember long after the last crumb is gone.
If you’re thinking where to get desserts from your next home party, I am proud to recommend Profiterole Patisserie. Our pastry chefs handcraft custom celebration cakes, delicate French mousse cakes, signature cream-filled profiteroles, and bite-sized fruit tarts fresh every morning.
Visit our boutique locations in Sydney to see the dessert options, or you can also order online and we will have them delivered to your home on the next day.
Publish date: 11/09/2026

Joey Yaccoub
Head Baker & Operations Manager, Profiterole Patisserie
Joey Yaccoub is the Head Baker at Profiterole Patisserie, bringing over a decade of hands-on experience in artisan cake design and pastry craftsmanship.
He oversees recipe development, product quality, and daily operations across all store locations, ensuring every cake meets the brand’s standards for flavour, presentation, and consistency.
FAQs
How do I set up a dessert table for an event?
Position the table out of direct sunlight with at least one metre of walkway clearance, then build vertical elevation using the rule of triangles around a central cake. Balance rich, fruity, and crisp finger desserts (planning three to four pieces per guest), provide dedicated serving tongs alongside clear dietary signage, and hold fresh cream bakes chilled until 20 to 30 minutes before serving.
What are the 5 C's of dessert?
The 5 C's of professional dessert presentation are Colour (natural visual vibrancy), Contrast (balancing sweet and acidic flavours), Crunch (crisp pastry or praline textures), Creaminess (smooth custards, creams, or ganache), and Cleanliness (neat, immaculate plating free of stray crumbs or drips).
How do I set up a dessert table?
Lay down a clean neutral linen base, place your tallest stand in the rear centre as a visual anchor, and step downward to mid-height pedestals and flat foreground platters to ensure effortless guest reach. Stage small plates, cocktail napkins, and tongs at the approach end so guests can move smoothly through the selection line.
What are the 5 basic tables set up?
The five standard event table configurations are Banquet (round tables grouped for dining and socialising), Classroom (rows of tables and chairs facing forward), Boardroom (one large elongated central table), U-Shape (tables arranged in an open horseshoe facing a presentation point), and Hollow Square (tables formed into a closed perimeter with an open space in the centre).
What is a simple table setting layout?
Place the dinner plate centrally with the dinner fork to the left and the dinner knife to the right, blade turned inward toward the dish. Position the water glass directly above the knife tip, and place a neatly folded napkin either to the left of the fork or centred directly atop the plate.
Looking for desserts for your next party? Check these out 👇
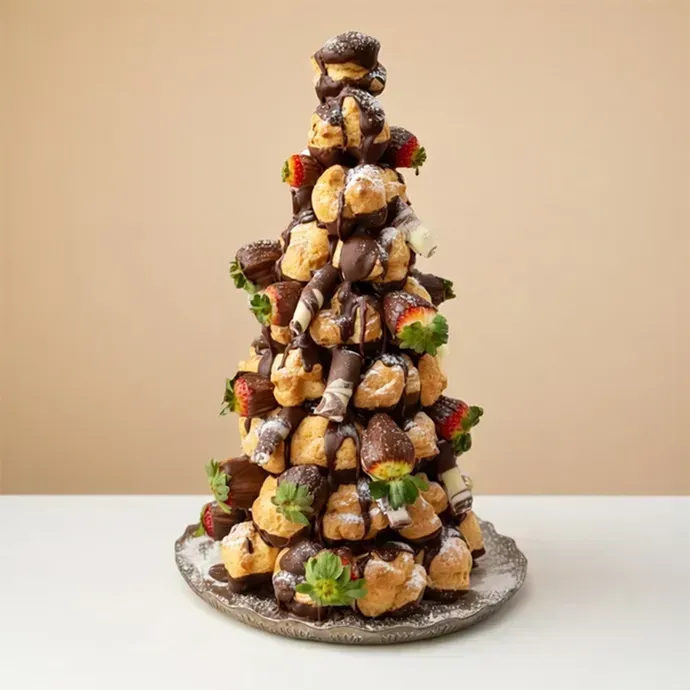
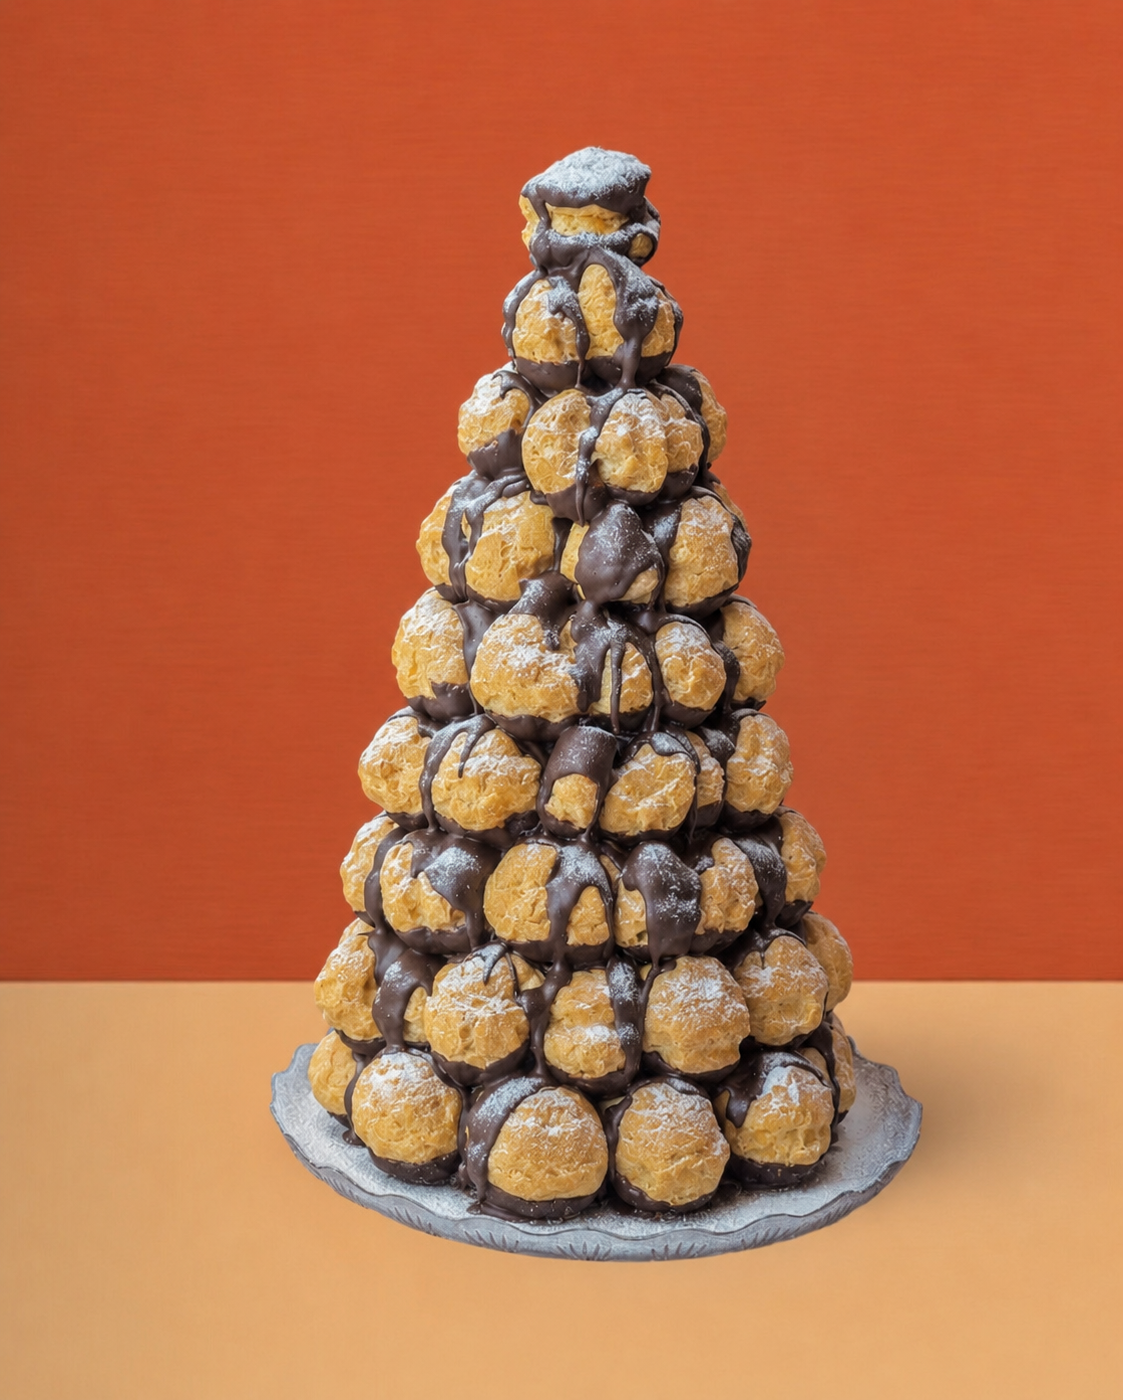
Profiterole Tower - Classic Chocolate
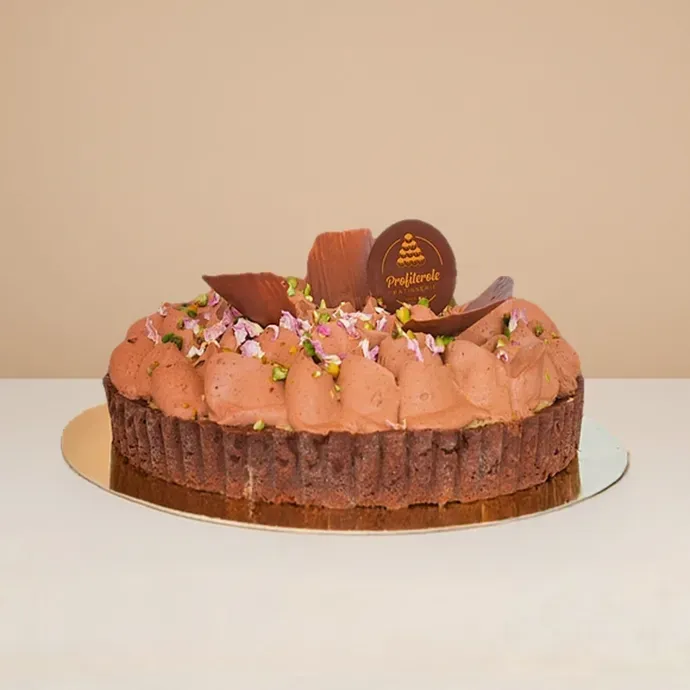
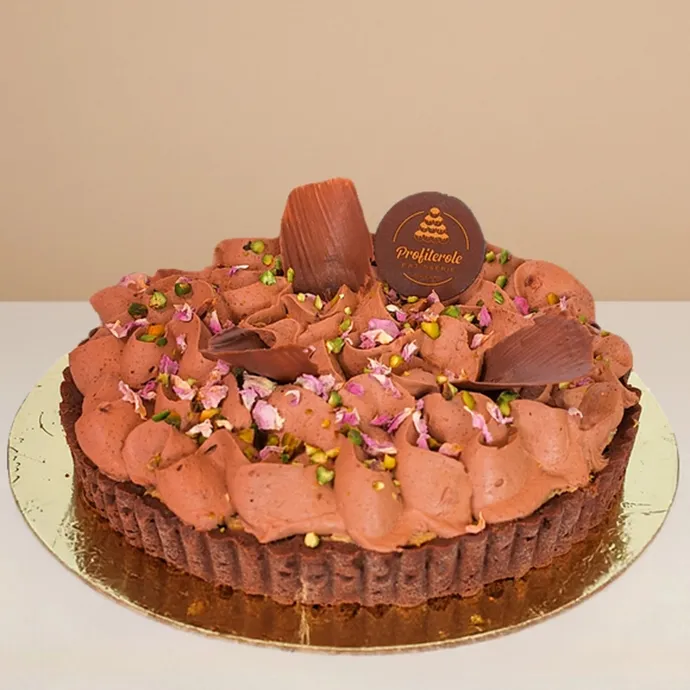
Dubai Chocolate Cake
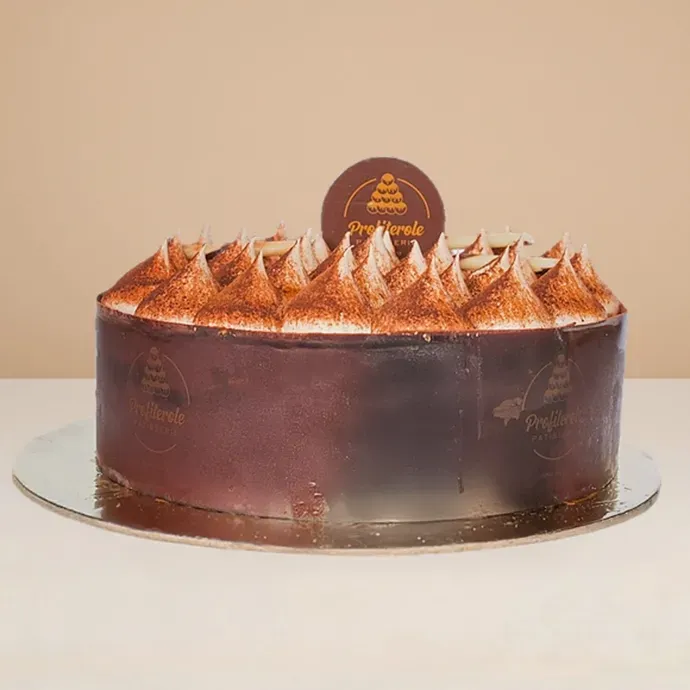
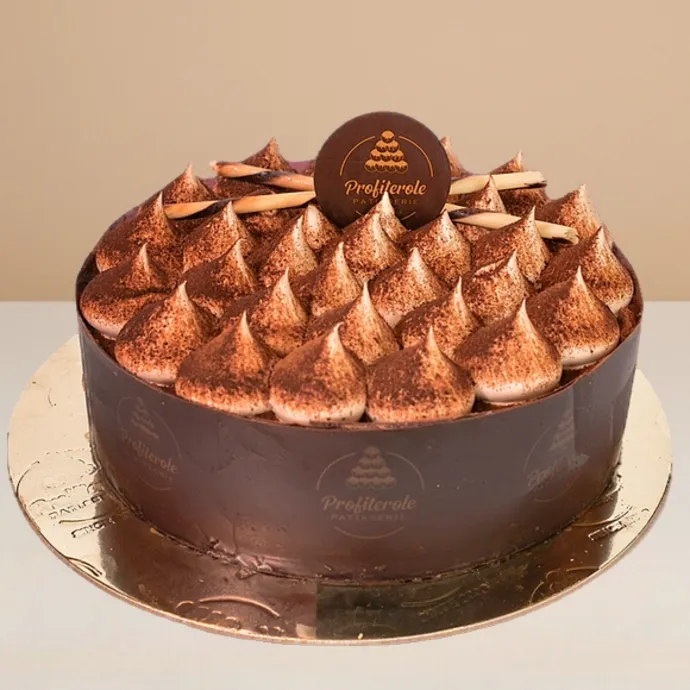
Tiramisu Cake
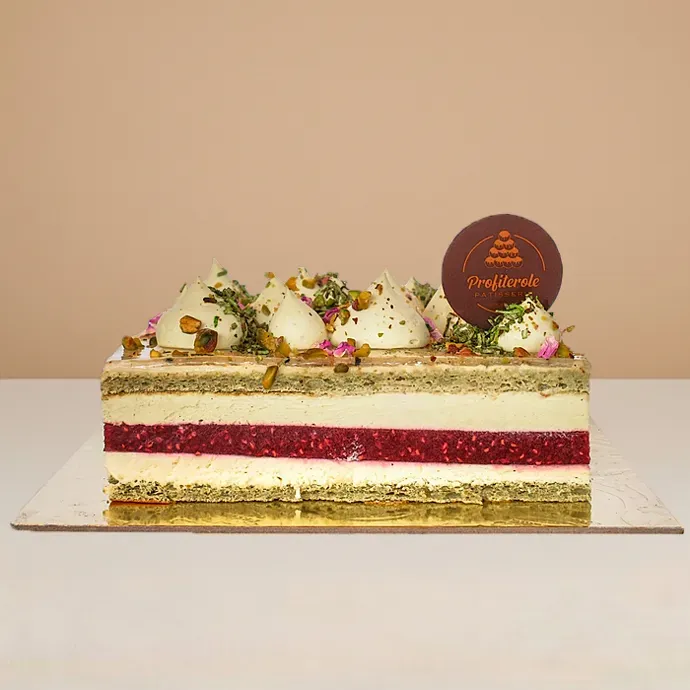
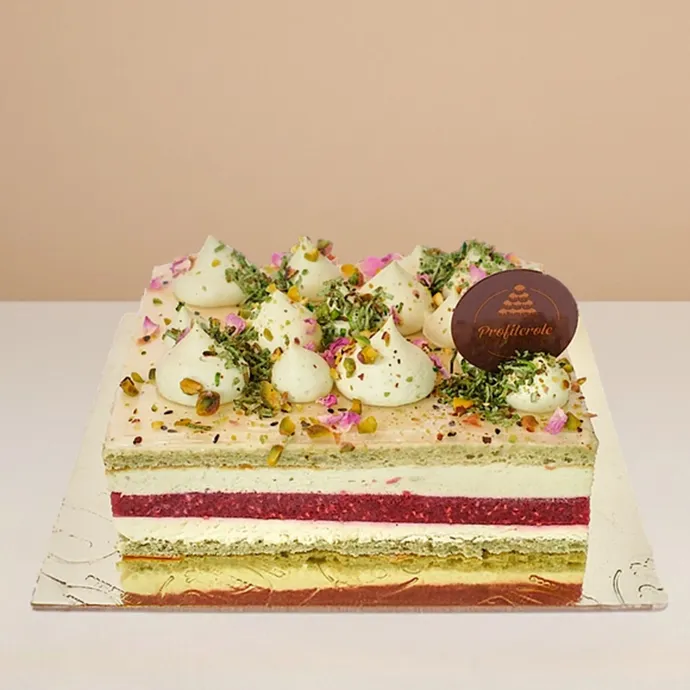
Pistachio Raspberry Bliss Cake
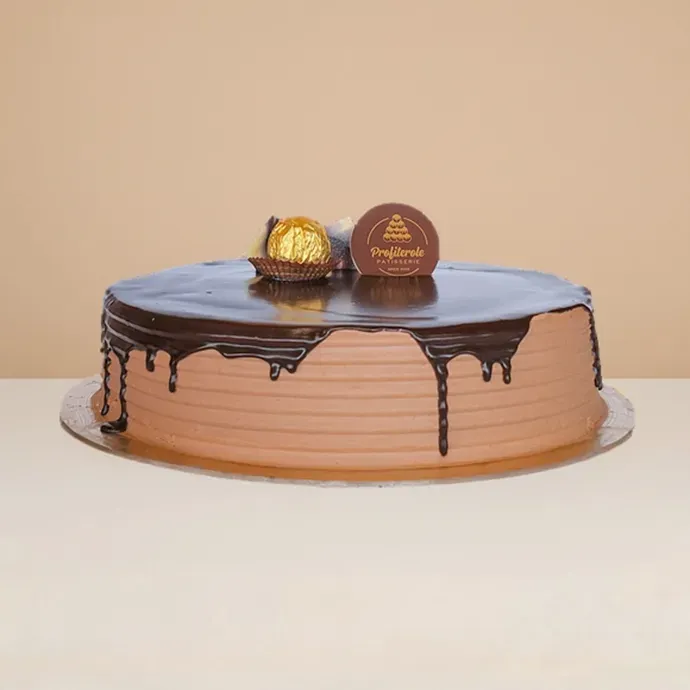
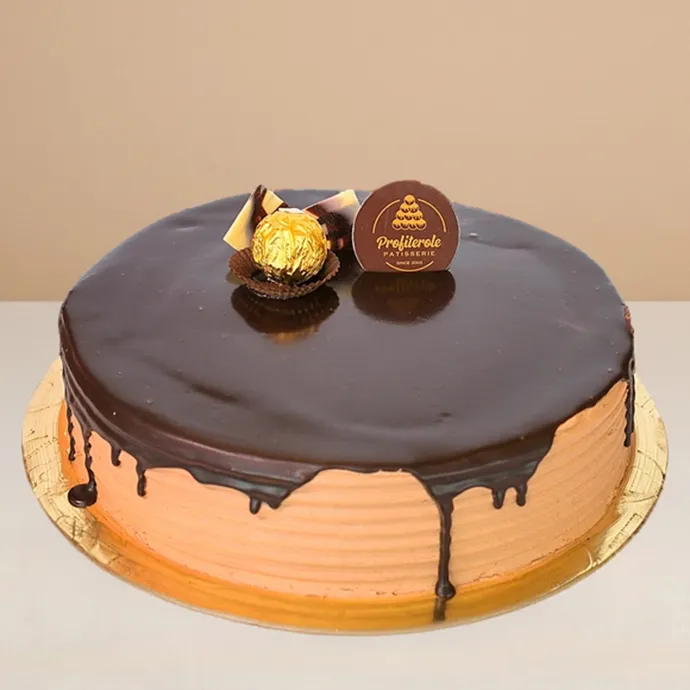
Ferrero Rocher Cake
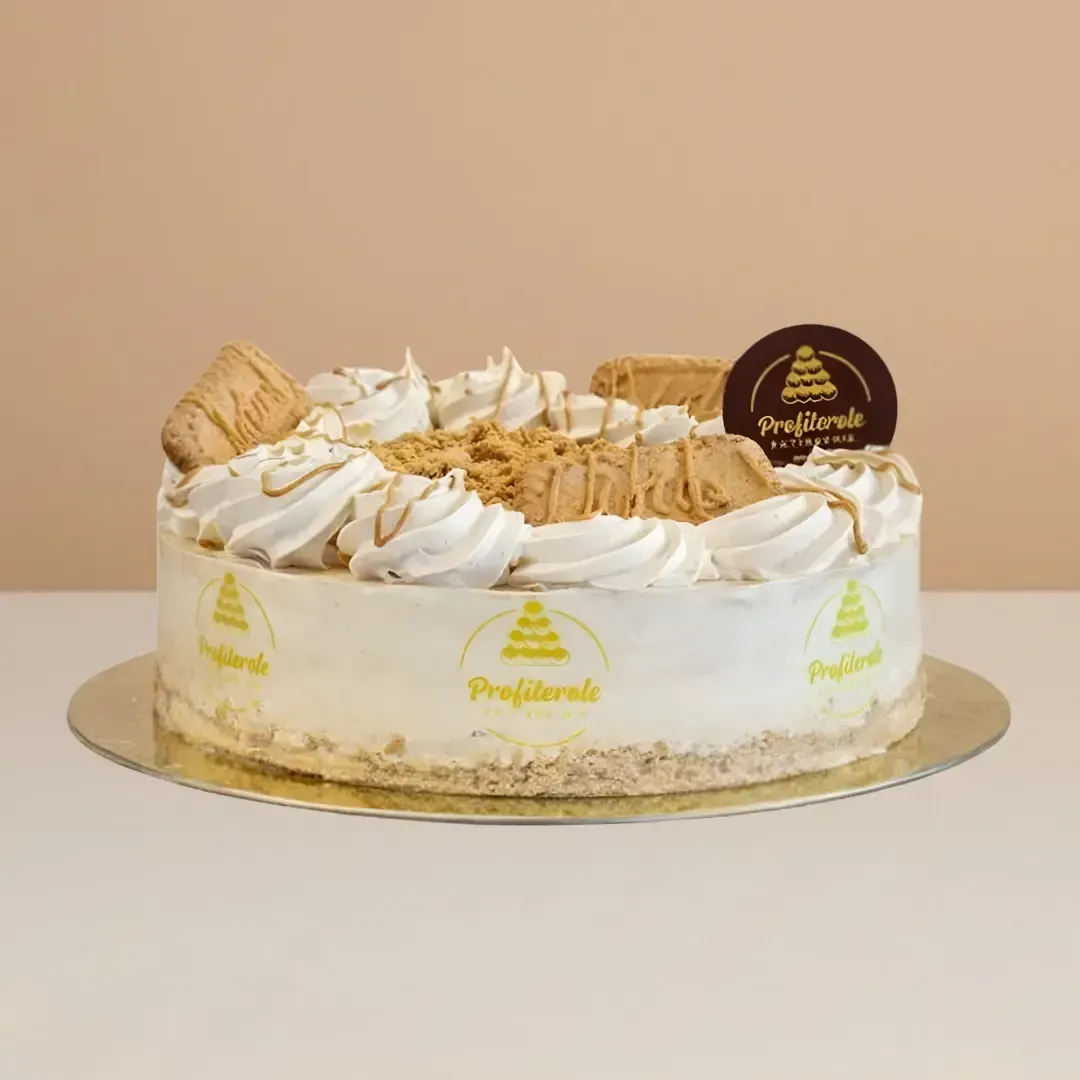
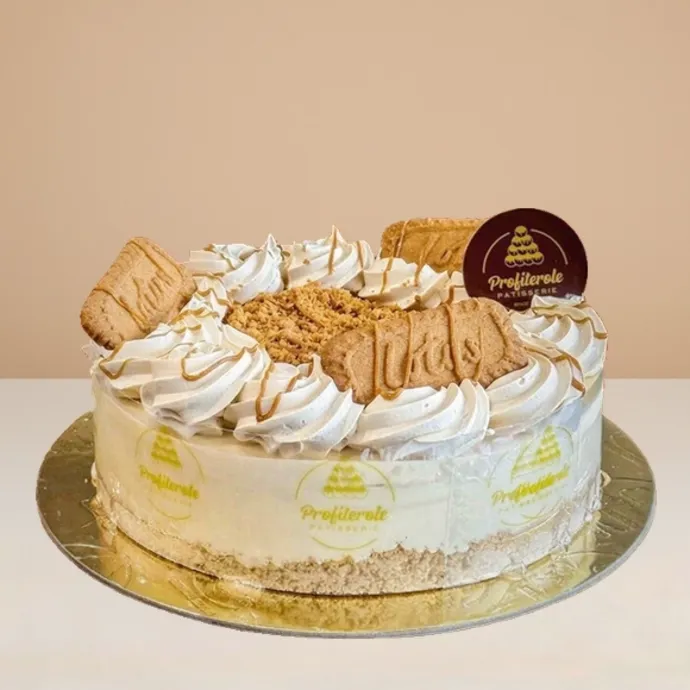
Lotus Biscoff Cheesecake
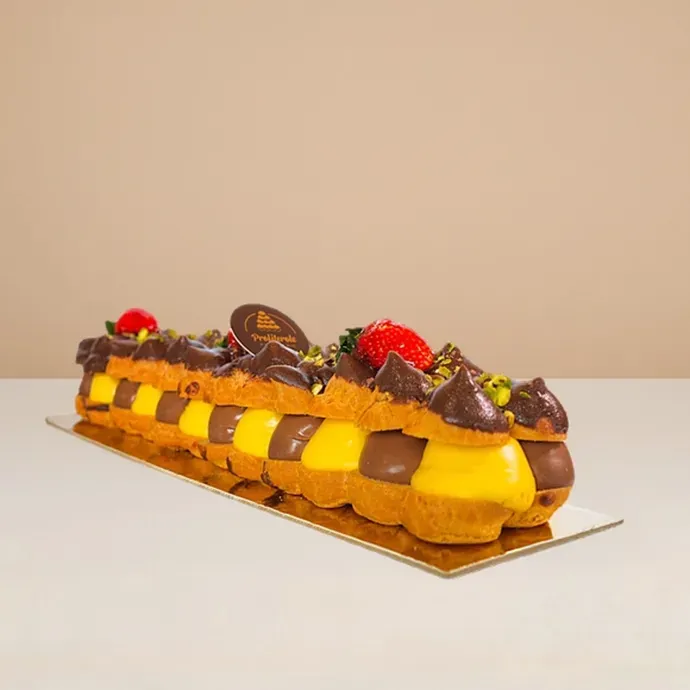
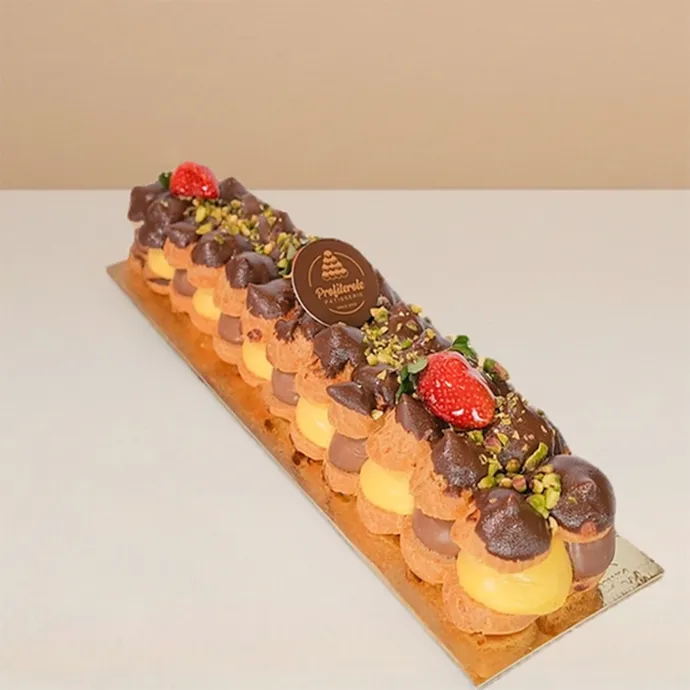
Profiterole Log Cake
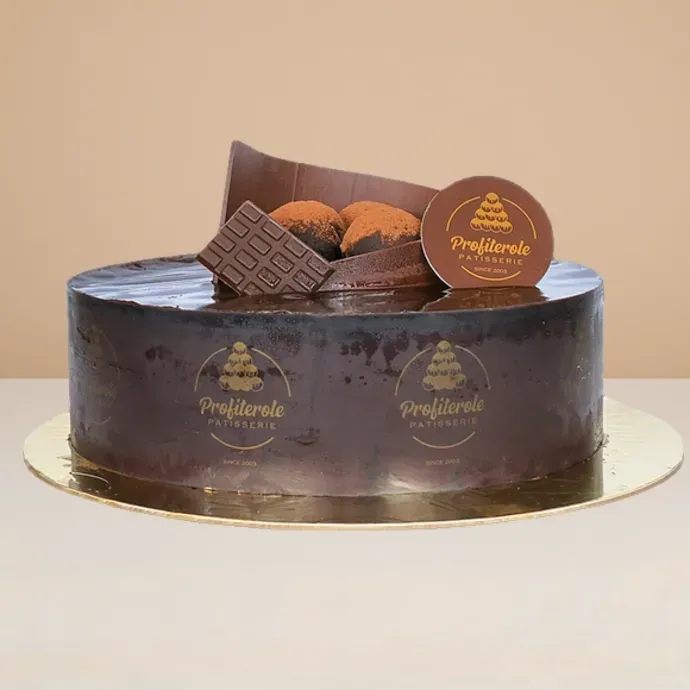
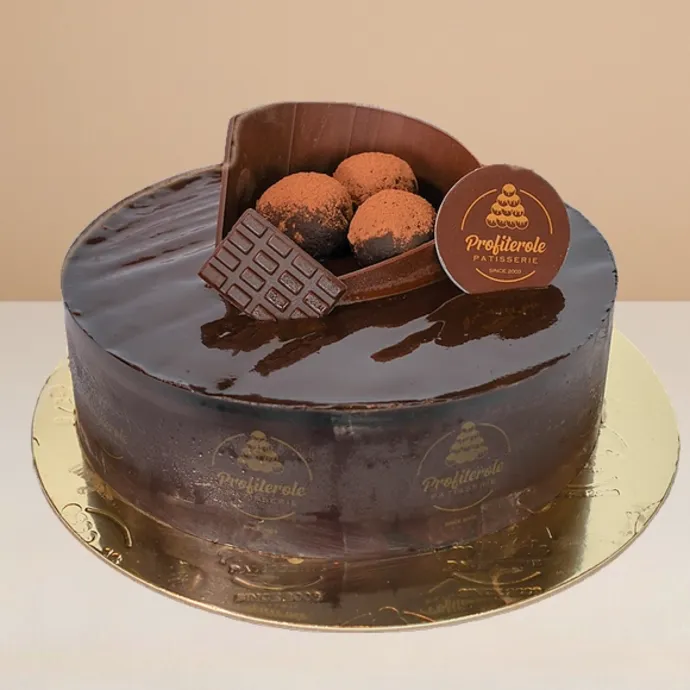
Chocolate Mousse Cake
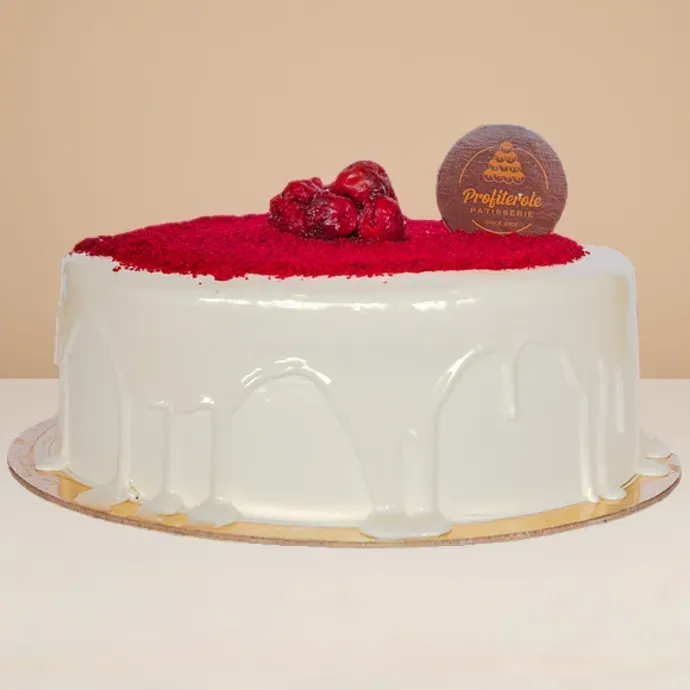
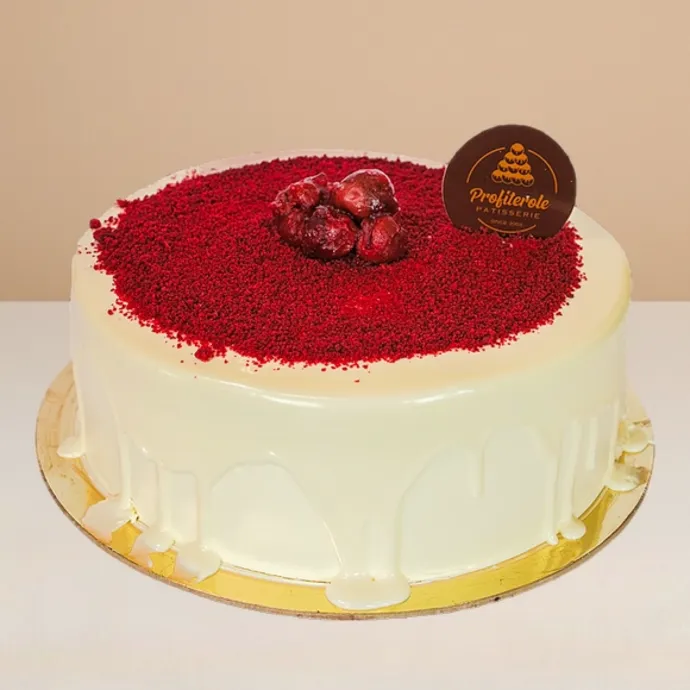
Red Velvet Cake
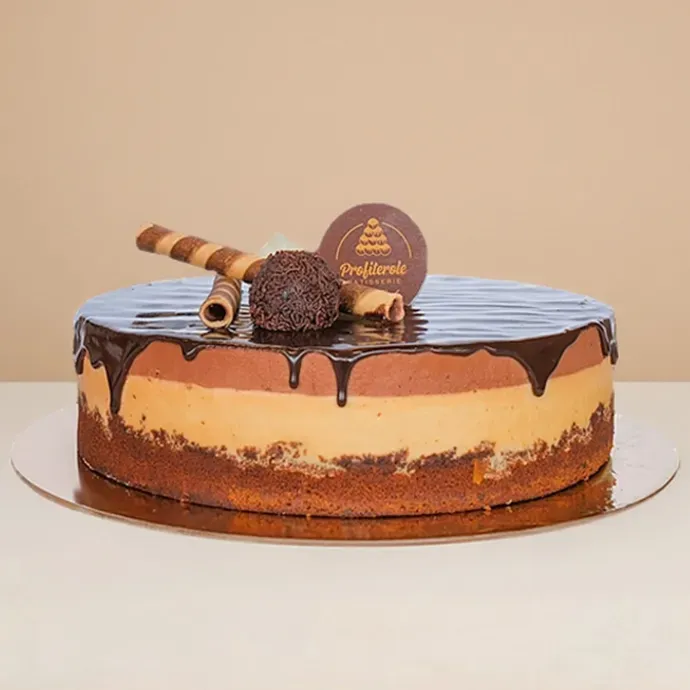
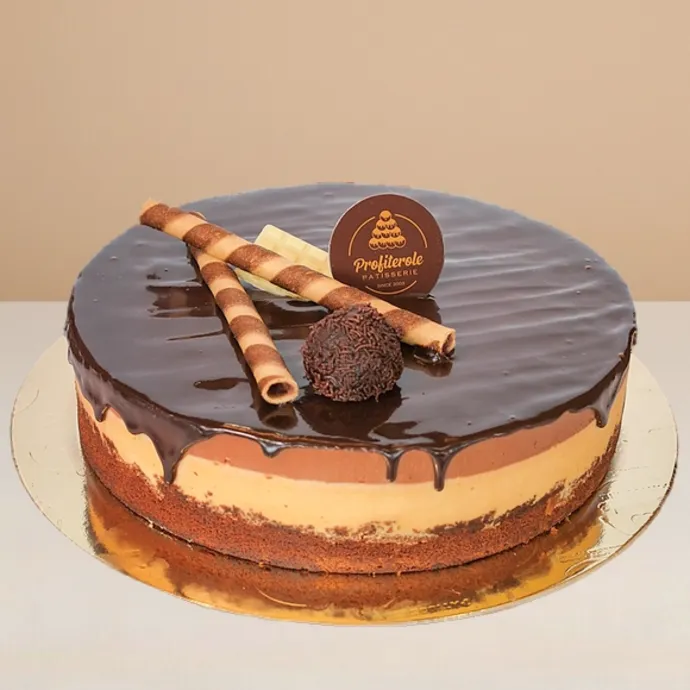
Trio Cake - Round
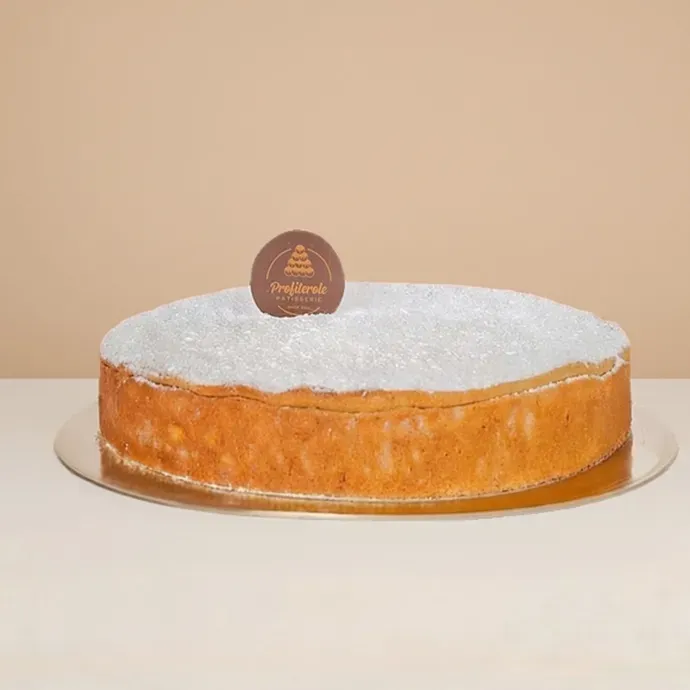
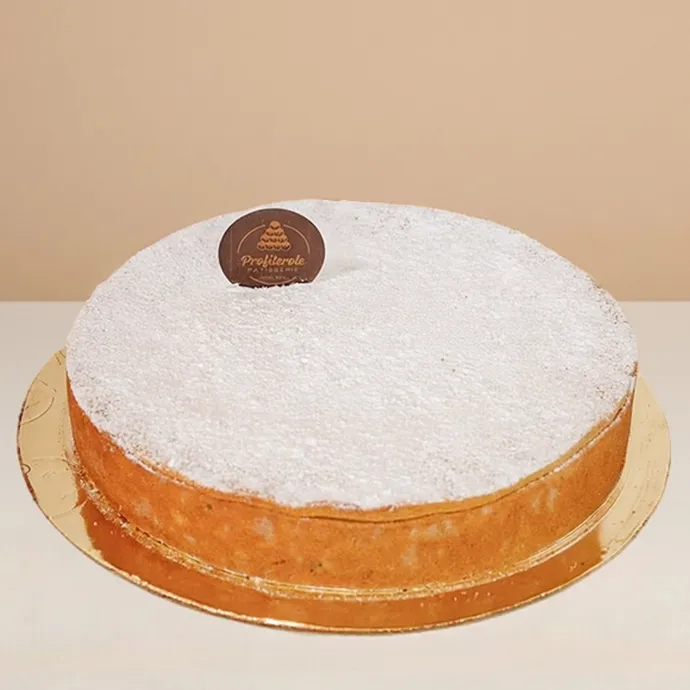
Baked Ricotta Cheesecake
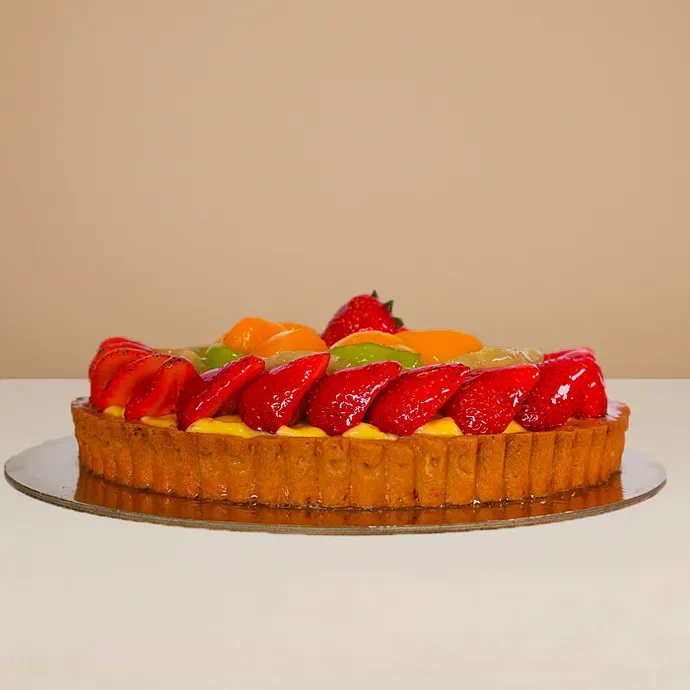
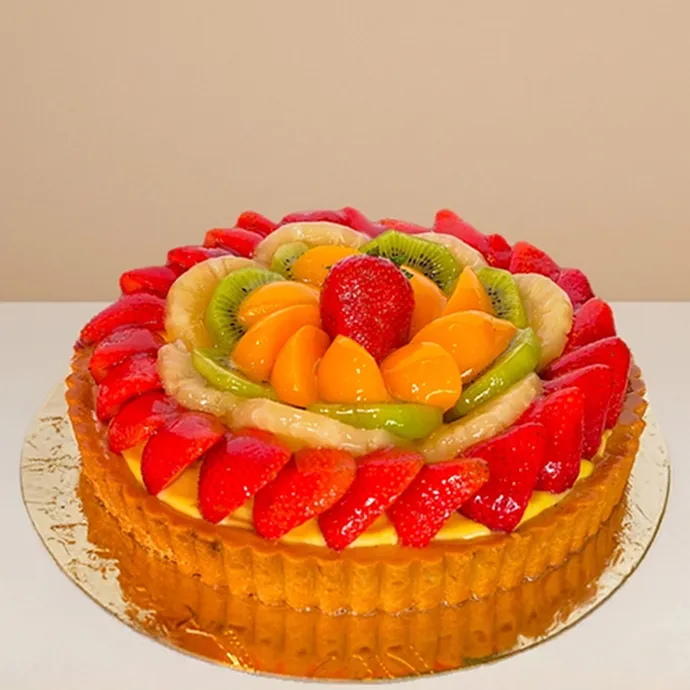
Fruit Cake - Round
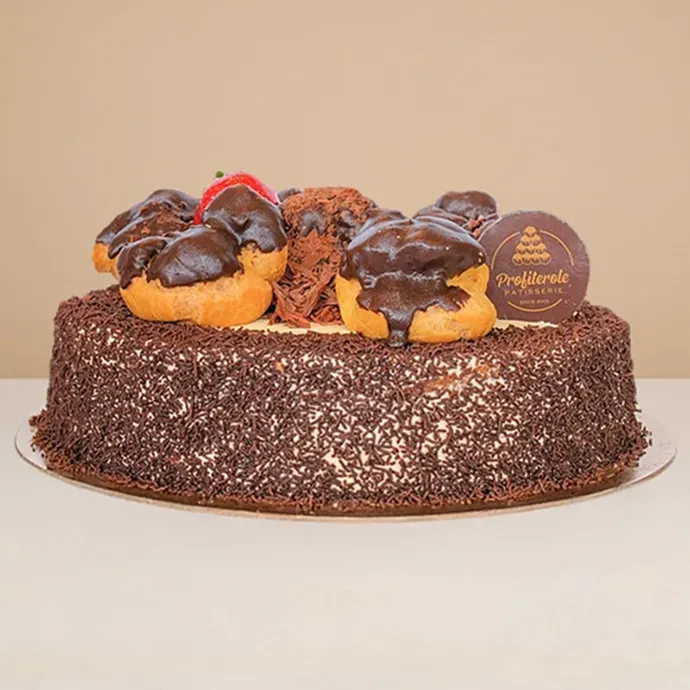
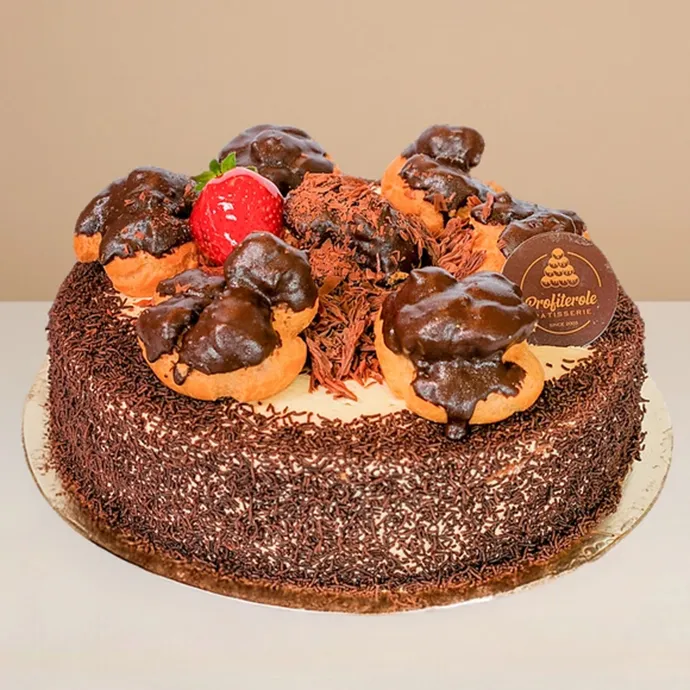
Chocolate Profiterole Cake
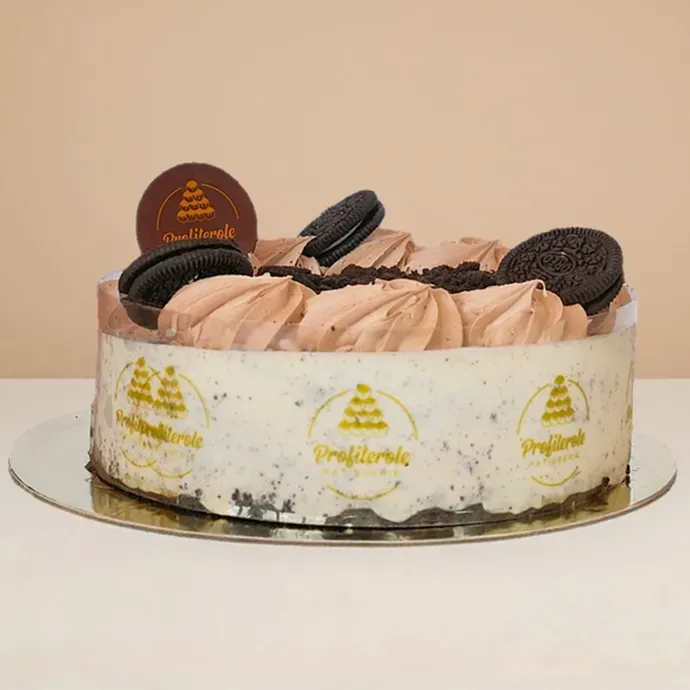
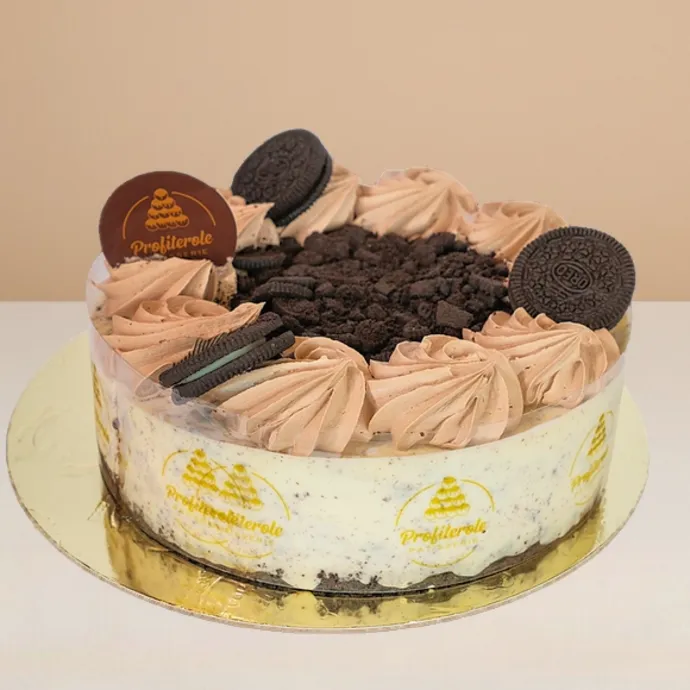
Oreo Cheesecake
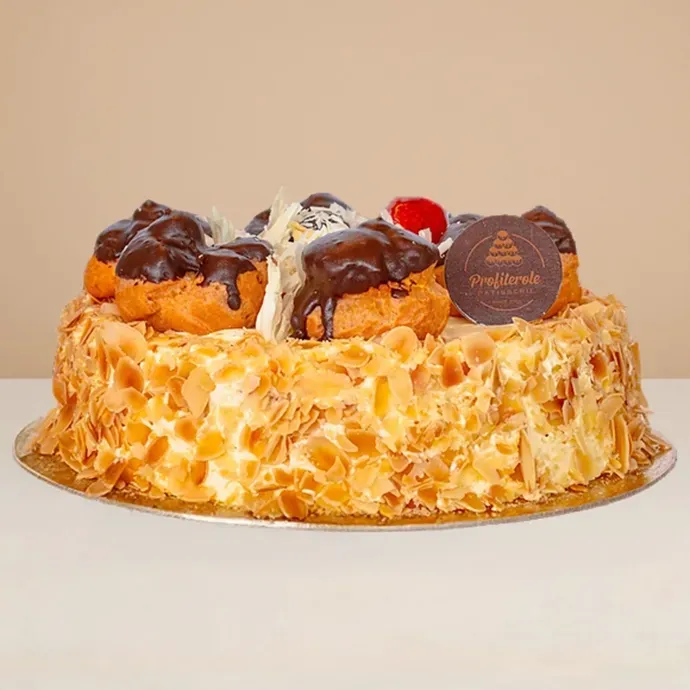
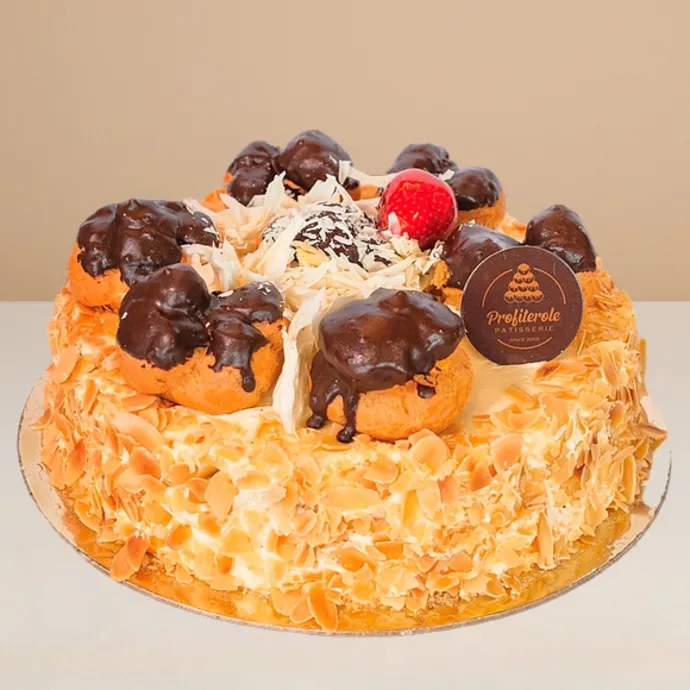
White Profiterole Cake
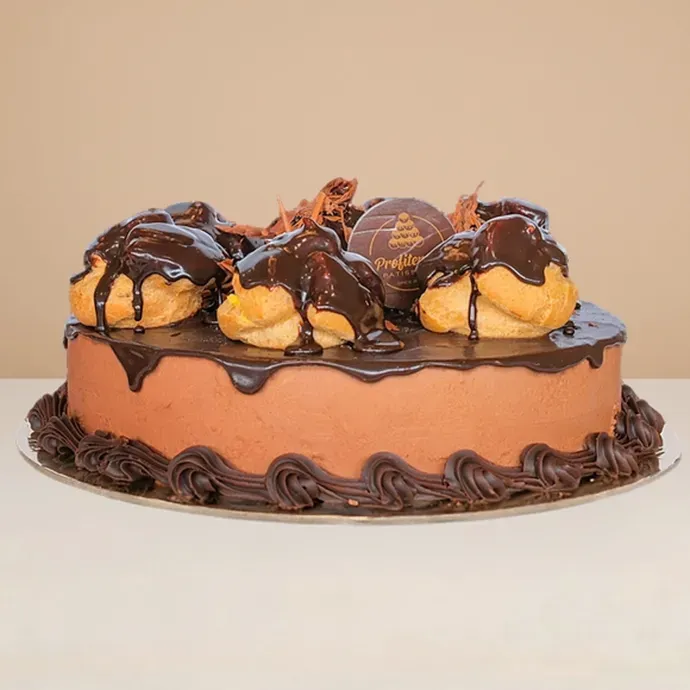
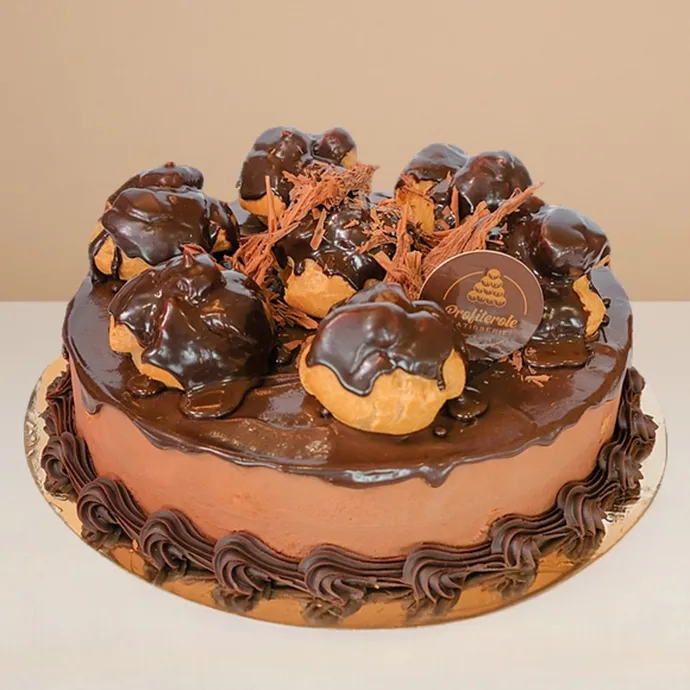
Mousse Profiterole Cake
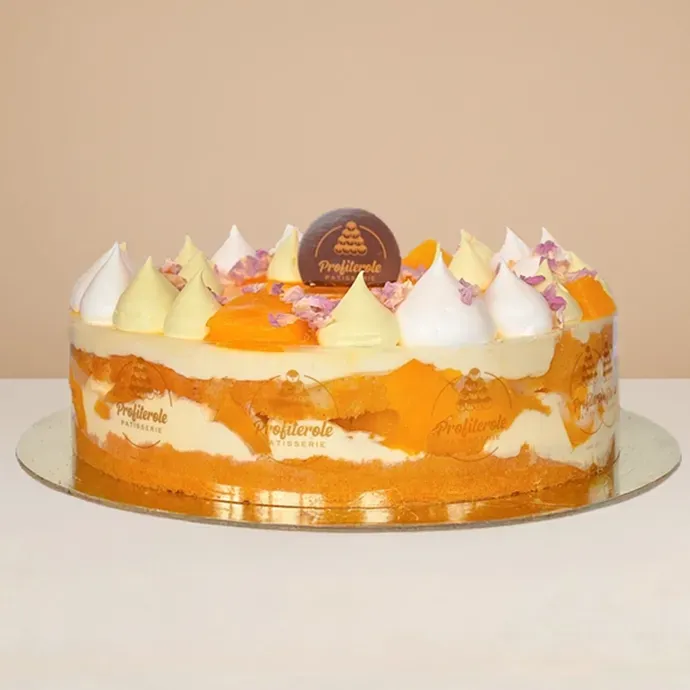
Mango Cake